Usage How to add a cron job on Windows
June 29, 2024 at 4:56 AMIf you want to use the Synchronize to WordPress/AD feature you need to set up a cron job. On Windows operating systems you have to use the Windows Task Scheduler to accomplish this.
This how-to is specific for Next Active Directory Integration. Please read this article how to add cron jobs and scheduled tasks on Windows.
Add the scheduled task
-
On your Windows server log on with a privileged account, e.g. Administrator
-
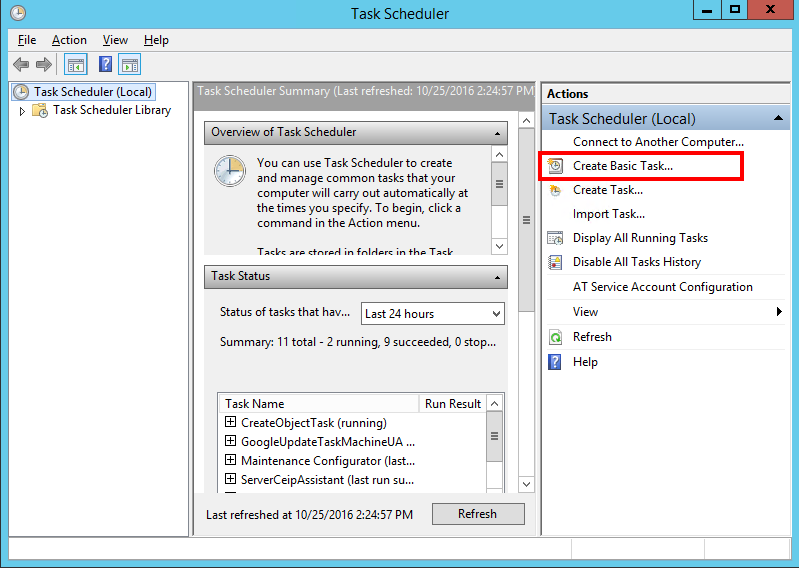
Go to Start > Control Panel > System and Security > Administrative Tools > Task Scheduler
-
In the right panel click on Create Basic Task

-
Enter a name like “Sync to WordPress* and click Next
-
On the next page define the scheduled dates when the task has to run. Every night should be often enough.
-
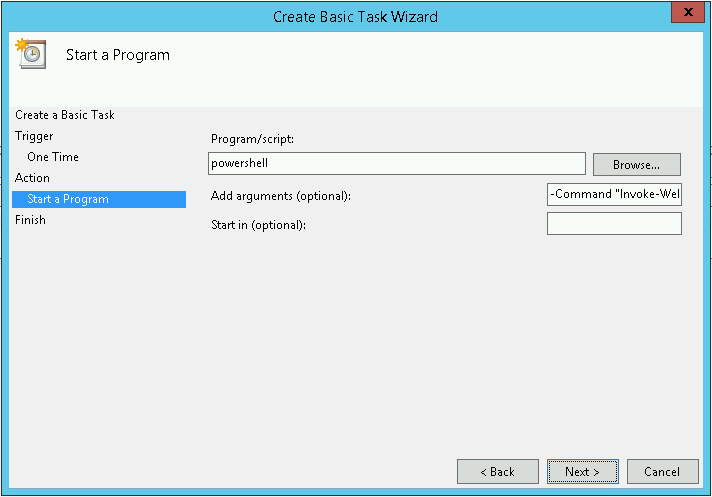
On the Action page select Start a program
Using PowerShell
-
PowerShell is available on Windows 7 and later, as well as on Windows Server 2008 R2 and later
-
The Program/script input field must contain powershell
-
The input field Add arguments (optional) must be populated with the following command
-
Some parameters must be adjusted e.g.
${SERVER_URL}(must point to the WordPress instance),${TOKEN}(must contain your auth code)-Command "Invoke-WebRequest -Uri ${SERVERURL}/wp-admin/admin.php -Method POST -Body @{'next_ad_int-task'='sync-to-wordpress';'auth-code'='${TOKEN}'}"

- Click Next and Finish
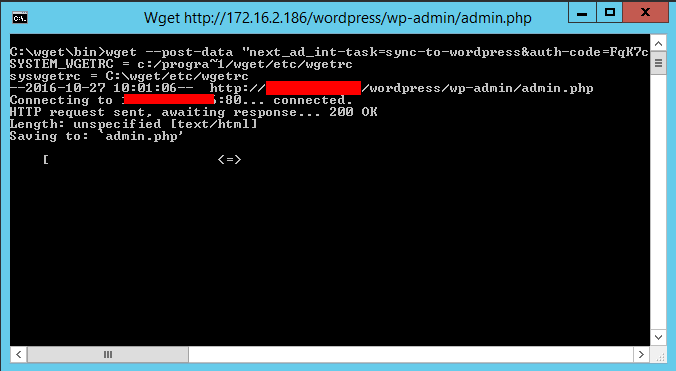
The added task will automatically run on the next scheduled date.
Using wget
-
Download the wget setup package from http://gnuwin32.sourceforge.net/packages/wget.htm or use this link link to sourceforge. Please note that the ZIP file does not include the required libraries.
-
Let the setup programm install wget into e.g. c:/wget
-
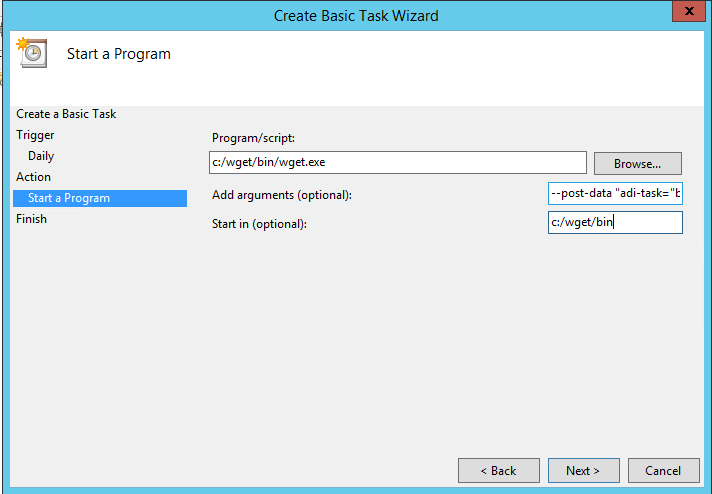
The Program/script input field must point to the previously installed wget.exe (c:/wget/bin/wget.exe)
- The input field Add arguments (optional) must be populated with the wget parameters provided in NADI on the Sync to WordPress respective Sync to AD page, like
--post-data "next_ad_int-task=sync-to-ad&auth-code=MFuyIpDJEEOUhw8cLsB0" http://localhost/wp-admin/admin.php

- The input field Add arguments (optional) must be populated with the wget parameters provided in NADI on the Sync to WordPress respective Sync to AD page, like
-
Click Next and Finish
The added task will automatically run on the next scheduled date.
